Project #3
Materials:
∙ One skein of Sunset Hues yarn
∙ US size 6 (4mm) knitting needles
∙ Sewing needle
∙ Ruler
∙ Scissors
∙ Metallic lock
Stitches uses / abbreviations:
∙ K – knit
∙ P – purl
∙ St – stitch
∙ Sl -slip
∙ Pfb - purl front and back
∙ K2tog – knit 2 together
∙ P2tog - purl 2 together
∙ Cast off
∙ Cast on
Instructions:
Casting on the Stitches
Cast 30 and p all stitches.
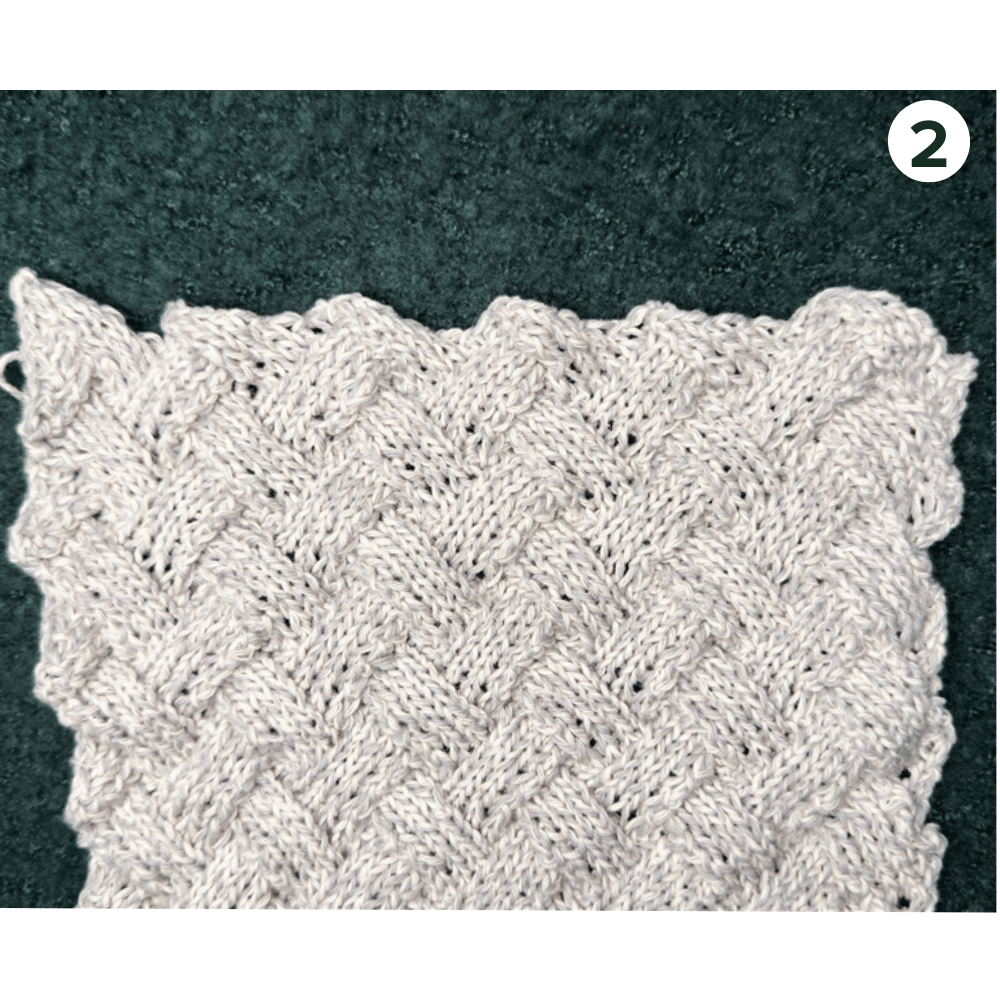
Entrelac squares are knitted in tiers, so this pattern will be divided into tiers.
Tier 1
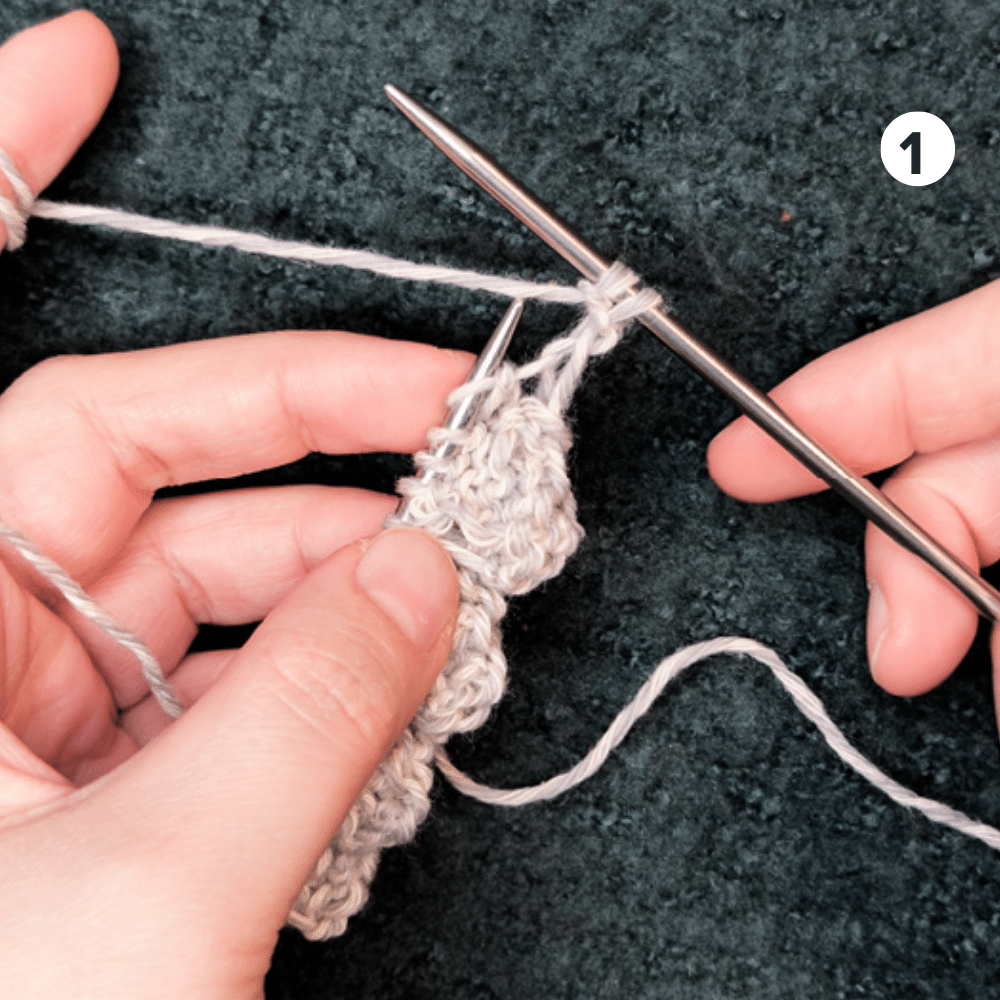
We need to create base triangles.
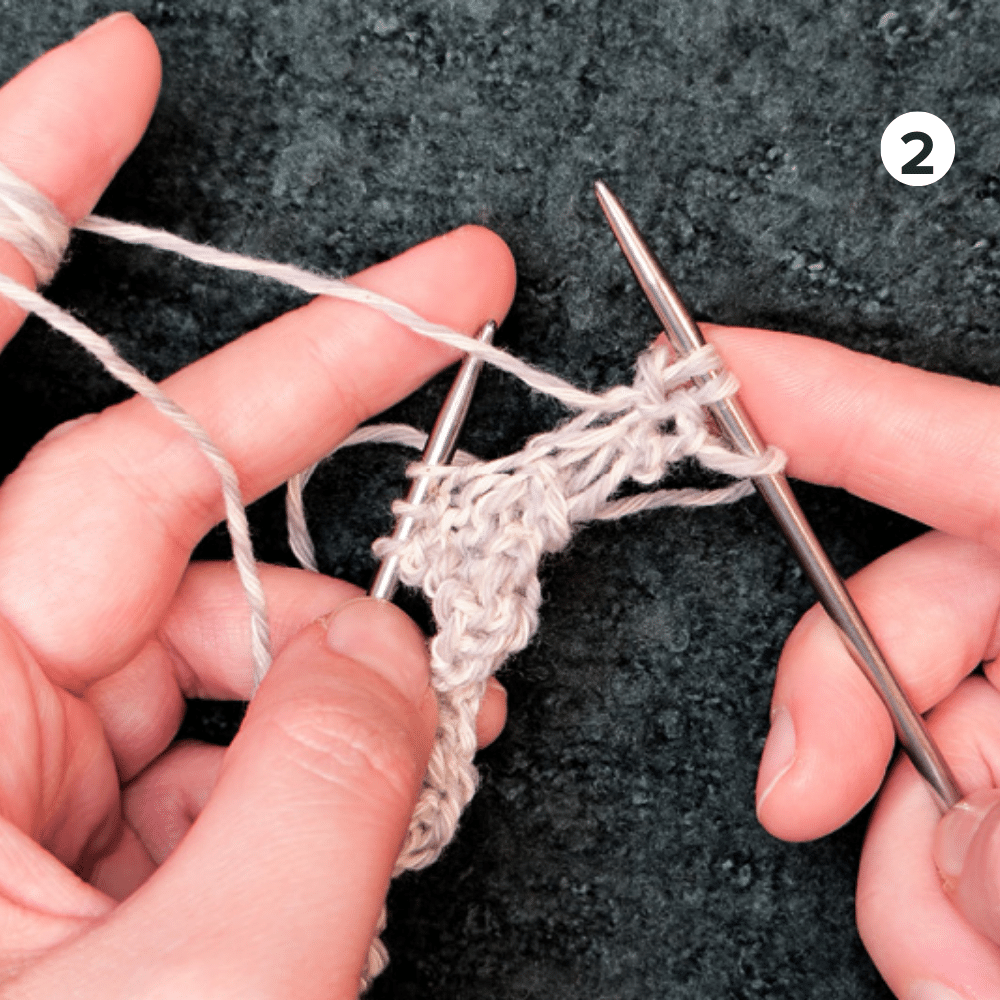
Row 1 - k 1st stitch, turn and p the same st.
Row 2 - turn, k 2.
Row 3 - turn, p 2.
Row 4 - turn, k 3.
Row 5 - turn, p 3.
Row 6 - turn, k 4.
Row 7 - turn, p 4.
Row 8 - turn, k 5.
You finished the 1st triangle with 5 stitches.
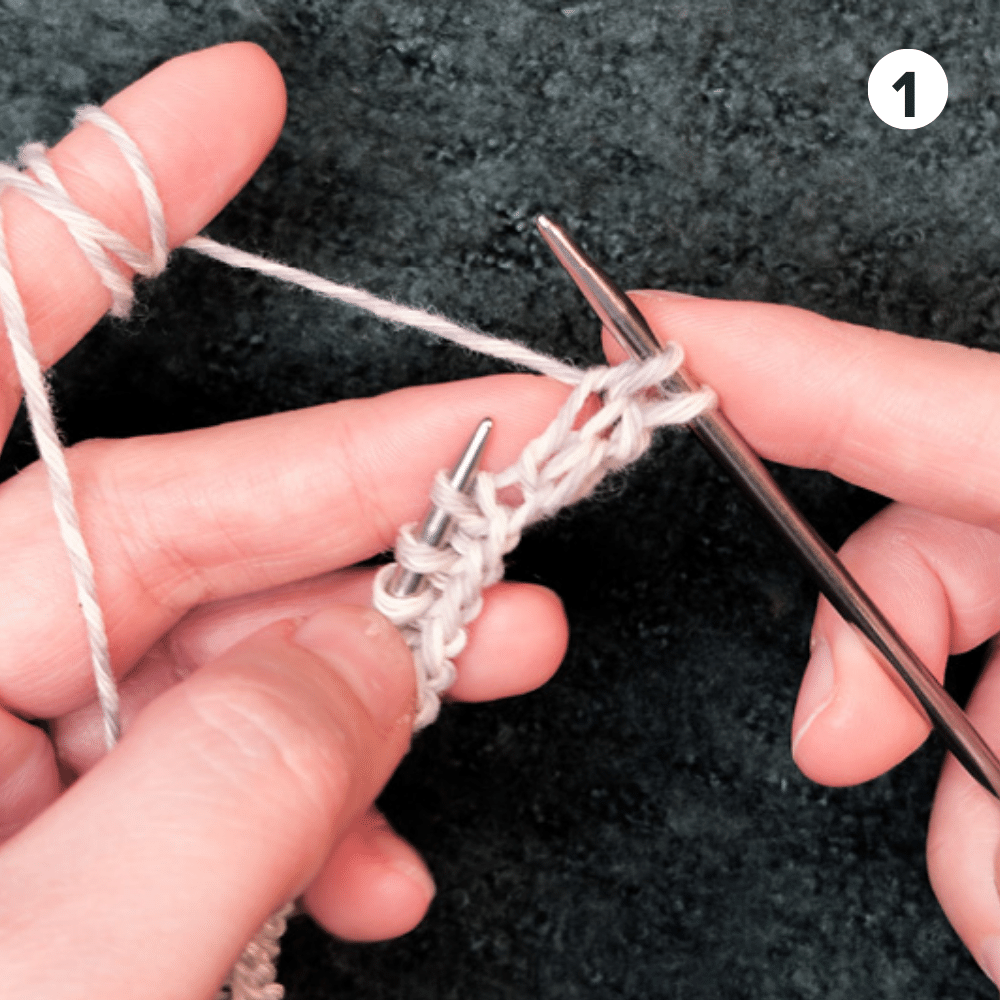
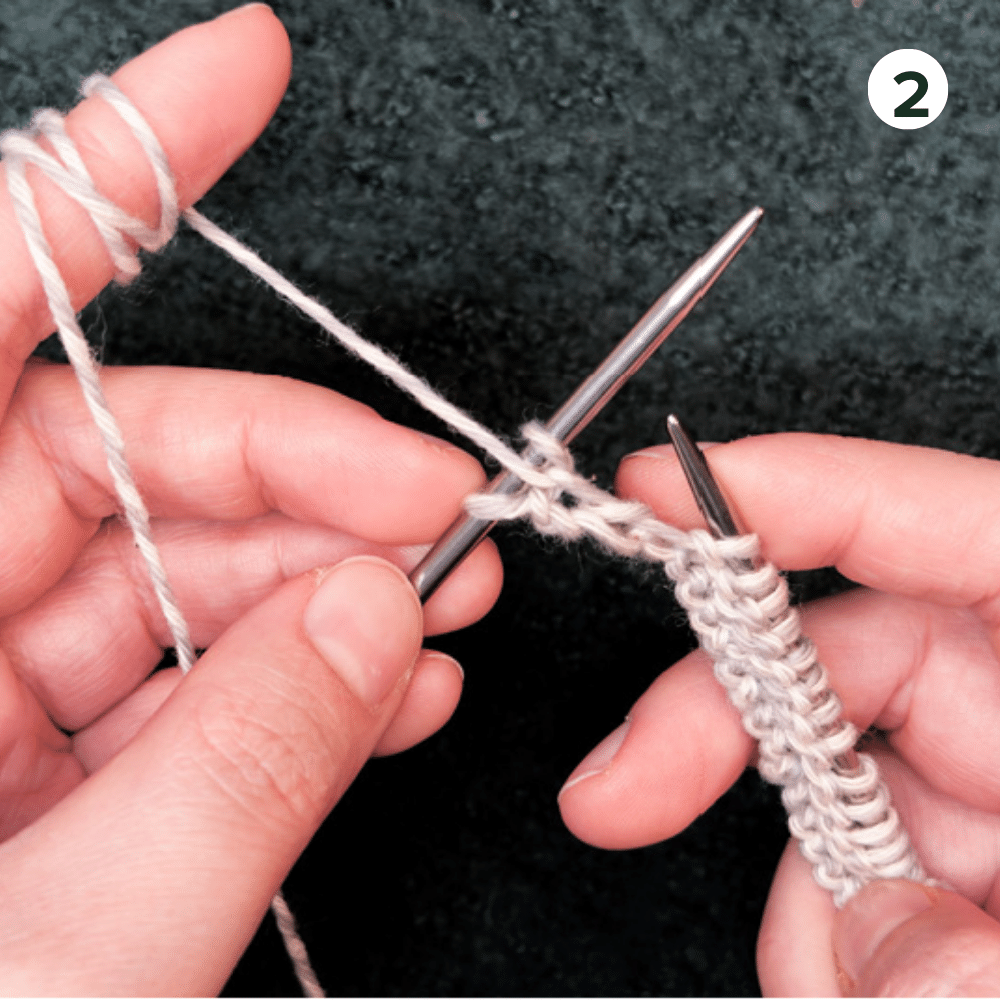

You should continue the same pattern till the end of this Row by creating 6 small triangles.
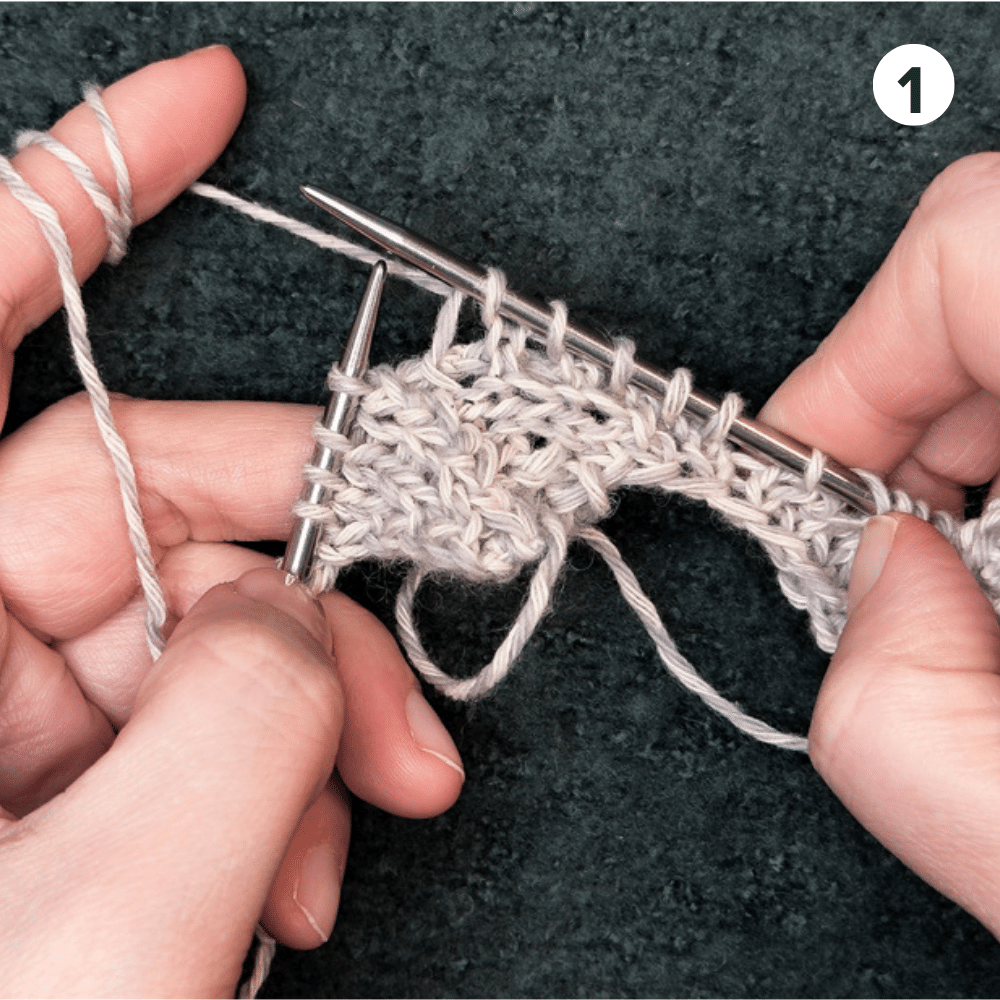
Tier 2
Filler triangle.
Row 1 - PFB.
Row 2 - turn, k 2.
Row 3 - turn, PFB, p2tog.
Row 4 - turn, k 3.
Row 5 - turn, PFB, p 1, p2tog.
Row 6 - turn, k 4.
Row 7 - turn, PFB, p 2, p2tog.
Row 8 - turn, k5.
Row 9 - p4, p2tog.
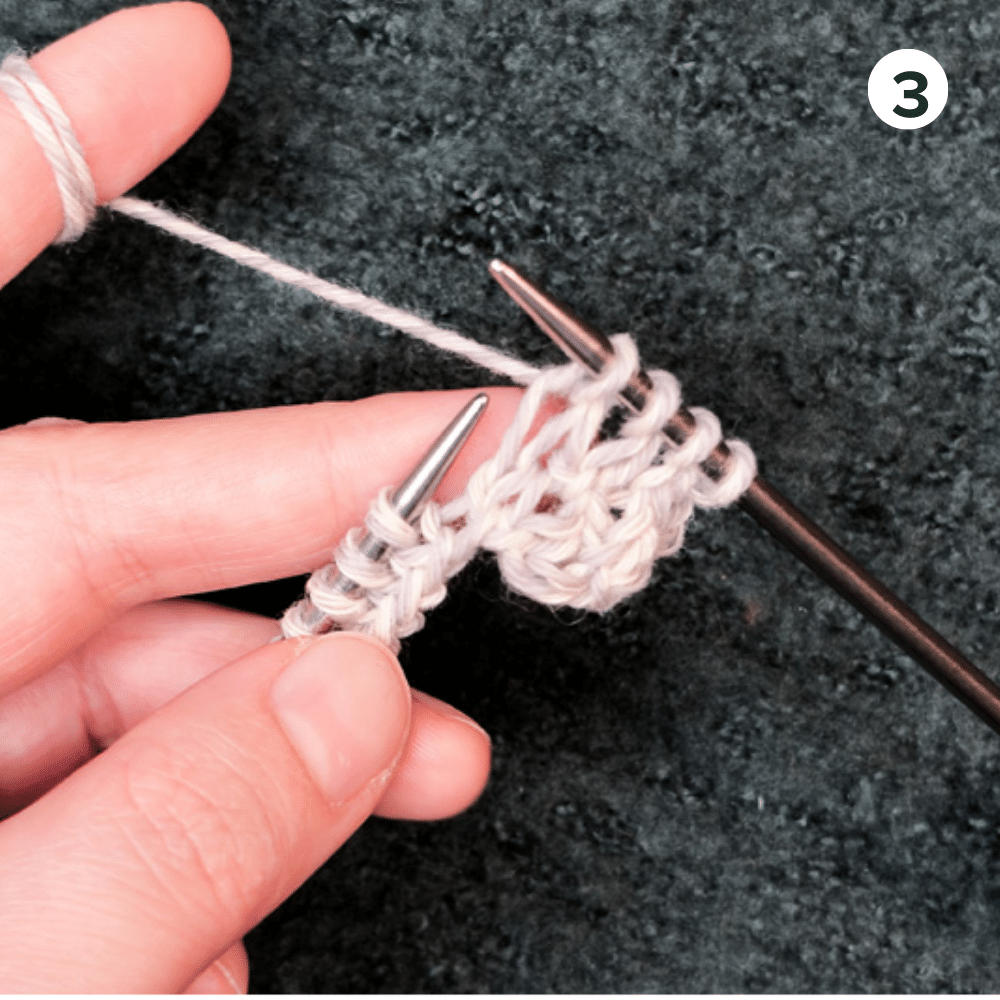
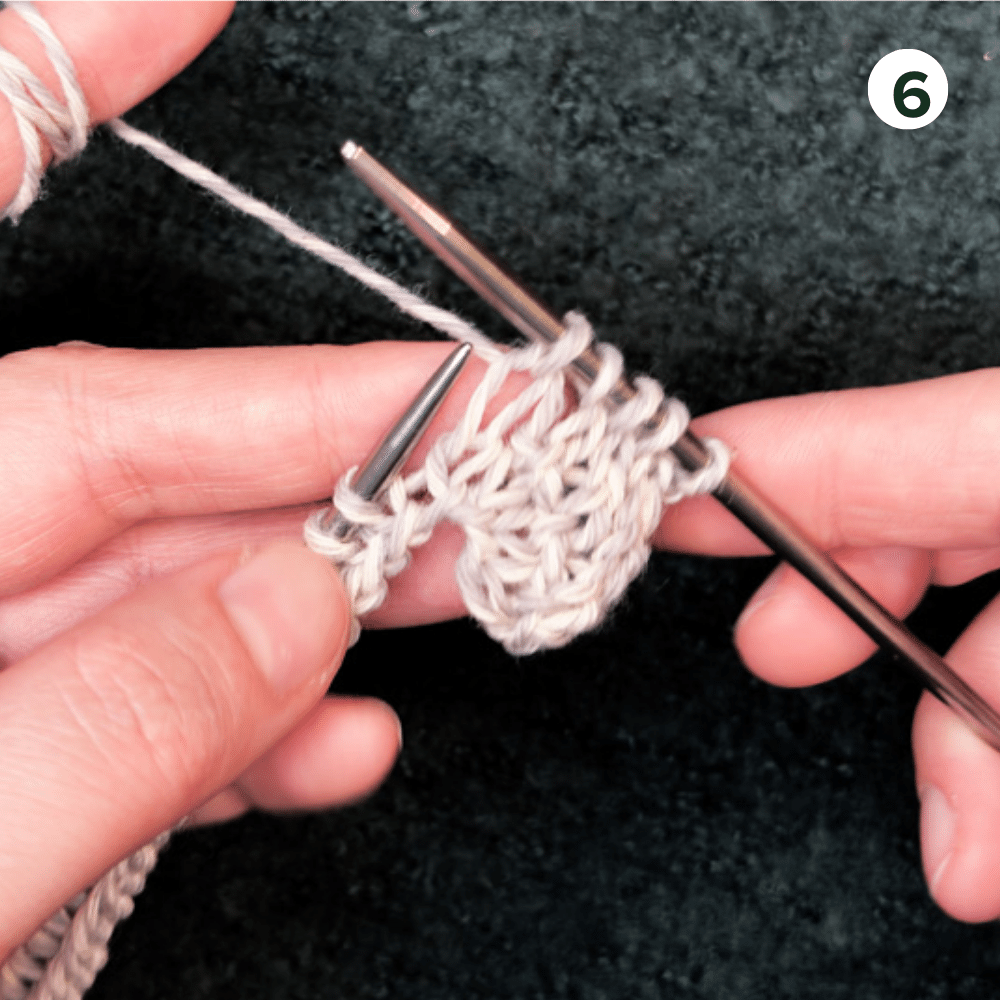
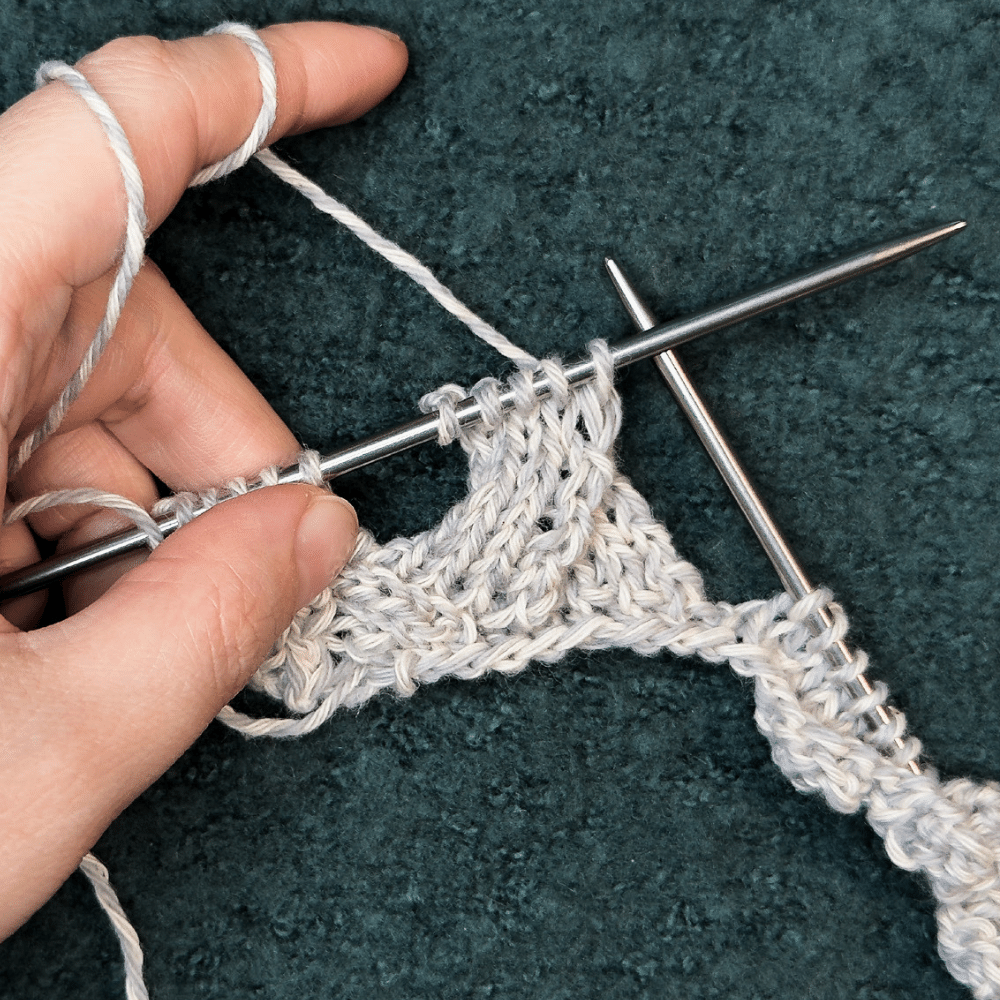
Right-leaning squares
Pick up stitches from the knit side.
Pick up 5 stitches from the edge as evenly as possible. You can use a crochet hook or
pick it up with needles.
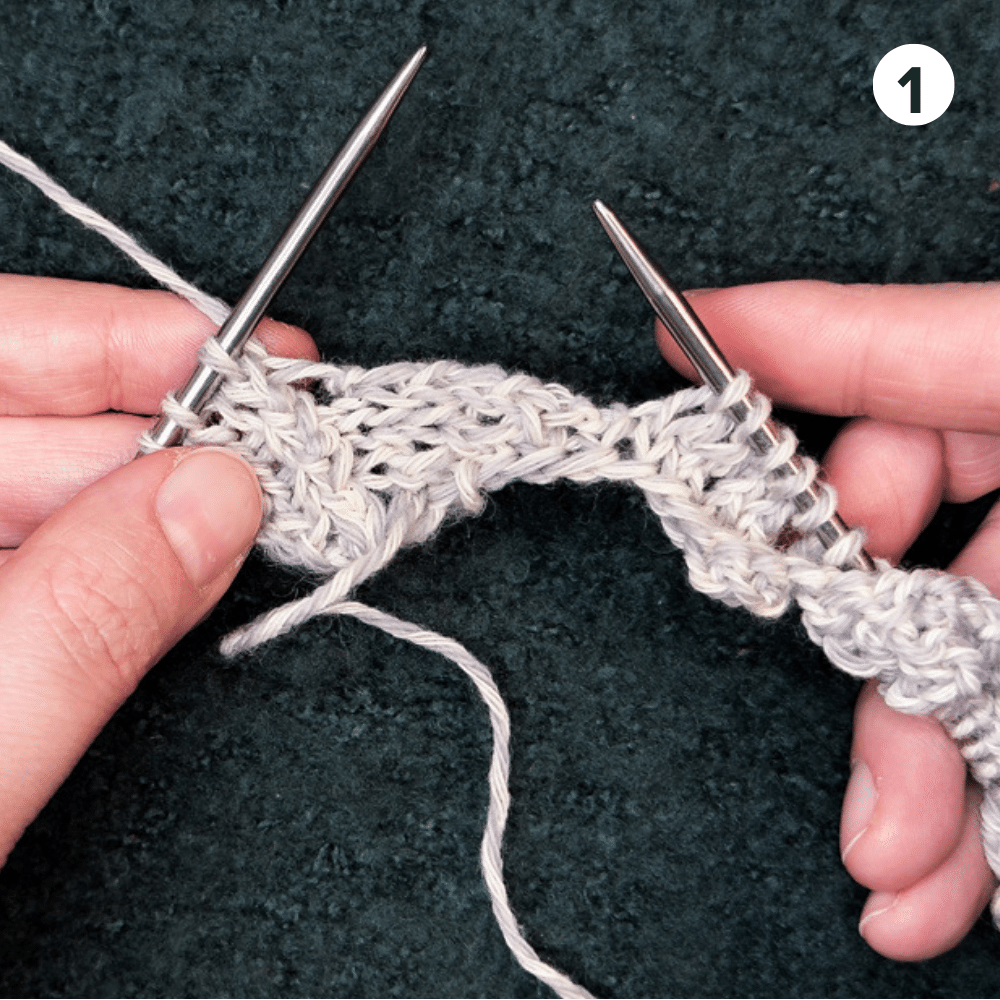
Insert the needle into the loop, wrap the yarn around it, pick it up, and slip it to the left hand needle.
Pick up 5 st.
Row 1 - k 5.
Row 3 - turn, k 5.
Row 4 - turn, p 4, p2tog.
Row 5 - turn, k 5.
Row 6 - turn, pk, p2tog.
Row 7 - turn, k 5.
Row 8 - turn, p 4, p2tog.
Row 9 - turn, k 5.
Row 10 - turn, p 4, p2tog.
Repeat this pattern to make 4 more right-leaning squares.
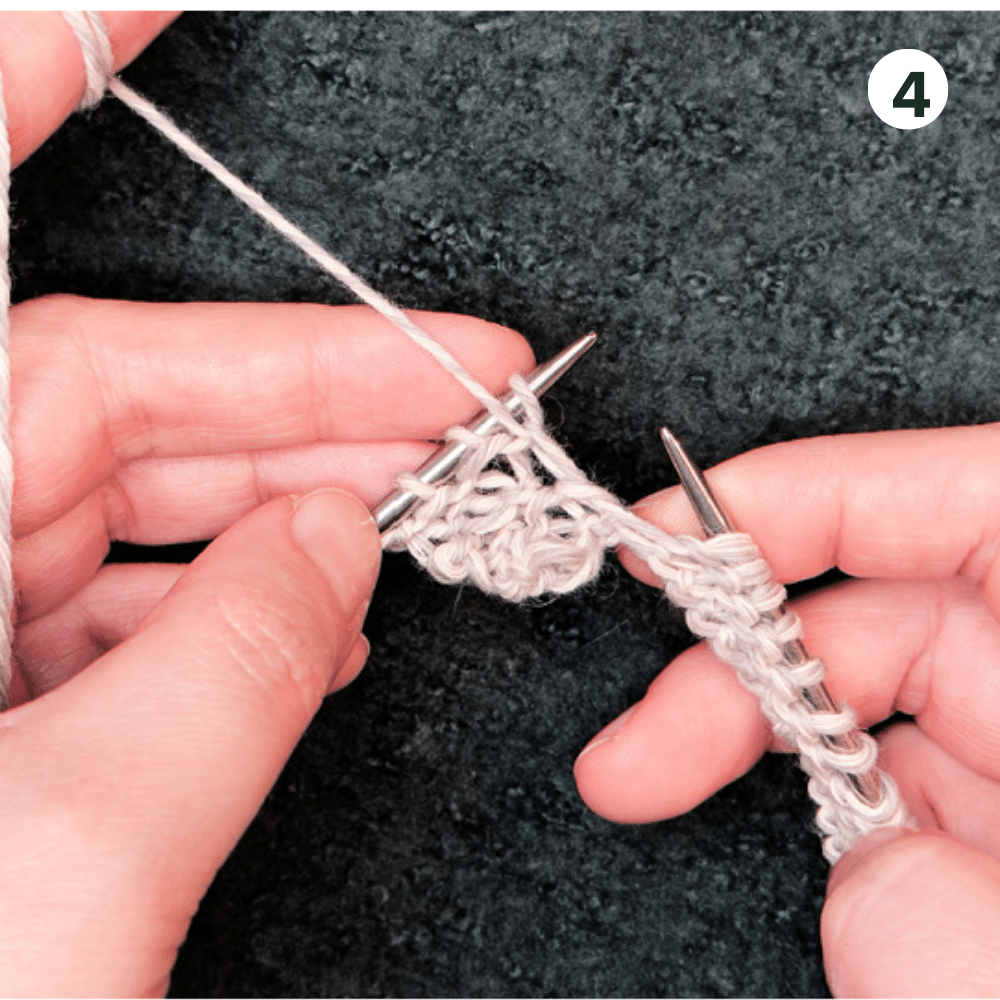
Filler triangle at the end of the Row.
Keep the project to the wrong side and pick up 5 stitches along the edge.
Row 1 - turn, k 5.
Row 2 - turn, p3, p2tog.
Row 3 - turn, k 4.
Row 4 - turn, p 2, p2tog.
Row 5 - turn, k 3.
Row 6 - turn, p 1, p2tog.
Row 7 - turn, k 2.
Row 8 - turn, p2tog.
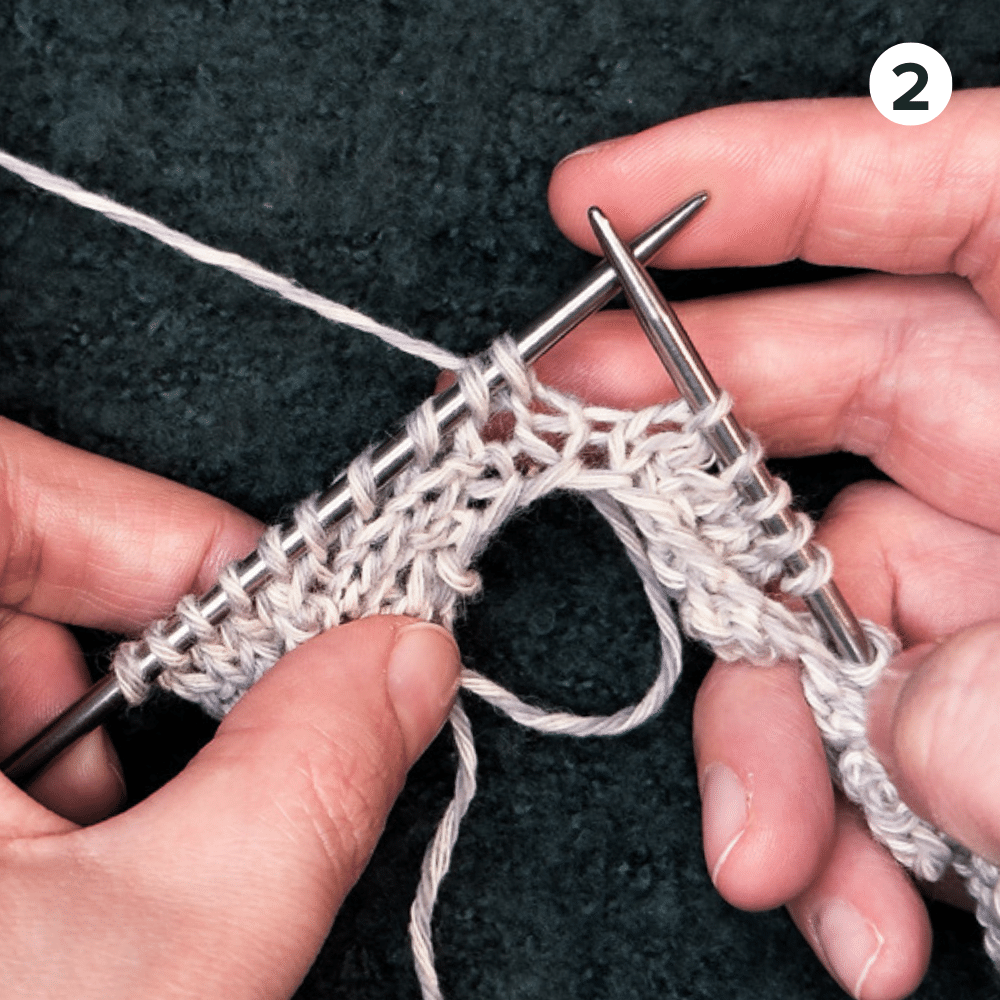
At the end of this Row, you will have one filler triangle in the beginning, 5 right-lean- ing squares, and a filler triangle at the end of the Row.
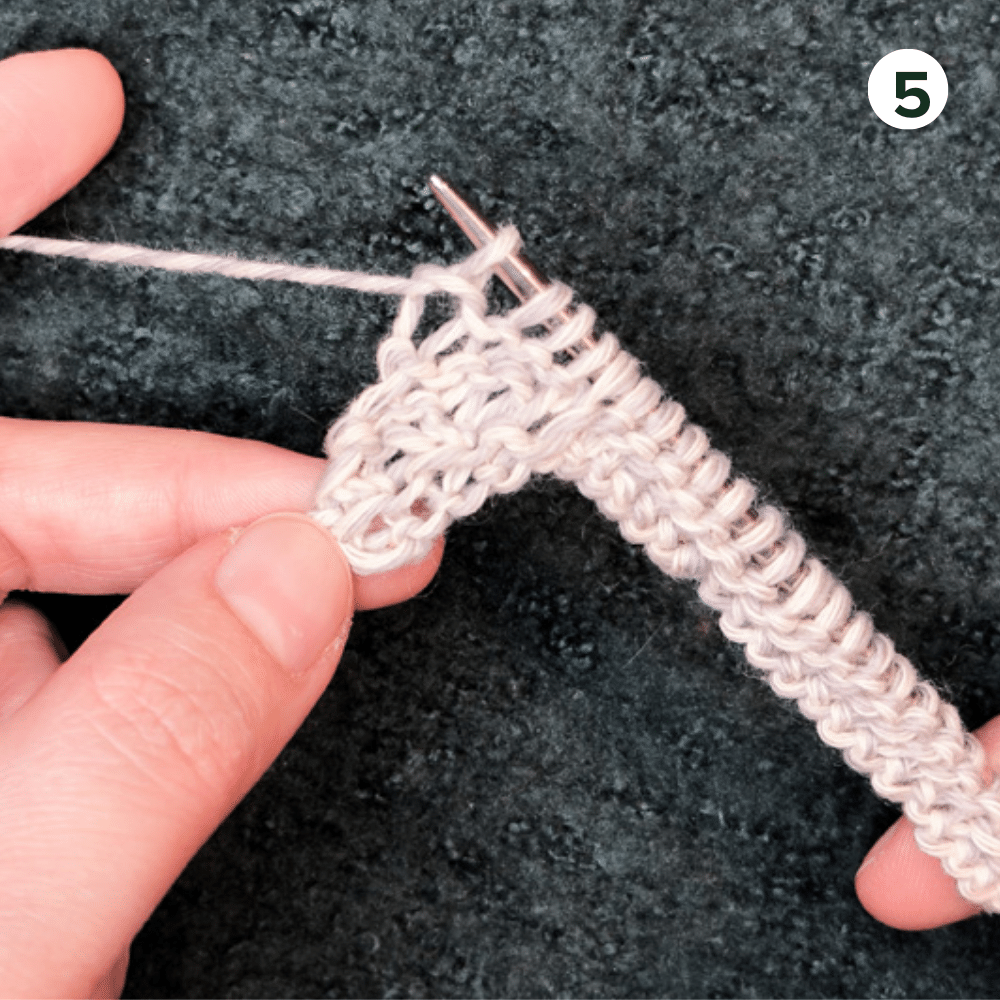
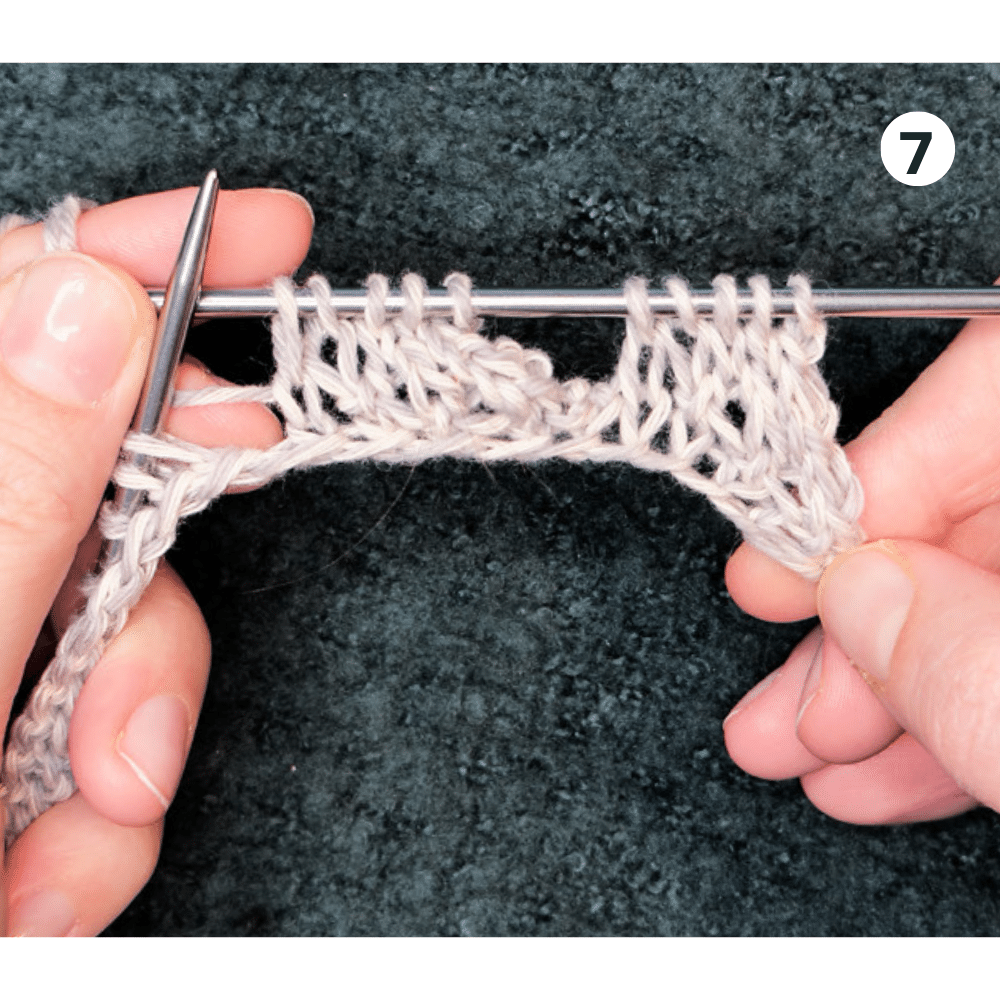
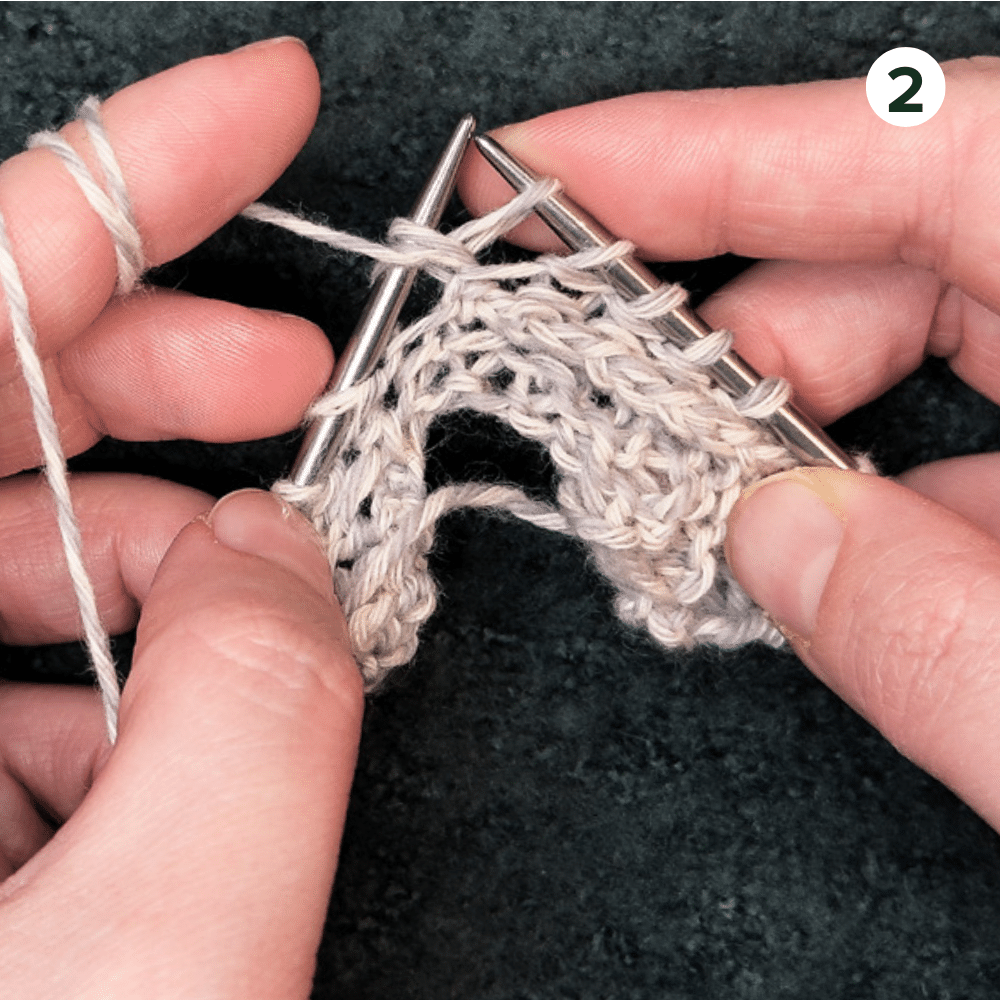
Tier 3 – left-leaning squares
Sl 1st st.
Pick up 5 stitches on the edge.
Row 1 - turn to the wrong side, p 4, p1tog. Row 2 - k 4, k2tog.
Row 3 - turn, p 5.
Row 4 - turn, k 4, k2tog.
Row 5 - turn, p 5.
Row 6 - turn, k 4, k2ttog.
Row 7 - turn, p 5.
Row 8 - turn, k 4, k2tog.
Row 9 - turn, p 5.
Row 10 - turn, k4, k2tog.

Repeat these instructions to knit 5 more left-leaning squares.
In repetitive rows, after you pick up 5 stitches, p 5 in Row 1 and repeat other rows as written above.
By the end of this Row, you will have 6 left-leaning squares.
Repeat Tier 2 and Tier 3 eight times. Your knitting will measure approximately 12 inches in length.


Closing off
Row 1 - slip 1st st, pick up 5 stitches.
Row 2 - turn, p 4, p2tog.
Row 3 - turn, bind off 1, k 3, k2tog.
Row 4 - turn, p 5.
Row 5 - bind off 1, k 2, k2tog.
P 4.
Bind off k 1 k2tog.
P 3.
Bind off 1, k2tog.
P 2.
Slip st, k2tog, bind off.
*pick up 5 loops.
Turn, p 6.
Bind off, k 3, K2 tog.
P 5.
Bind off, k 2, k2tog.
P 4.
Bind off, k 1, k2tog.
P 3.
Bind off, k2tog.
P 2.
Sl k2tog.

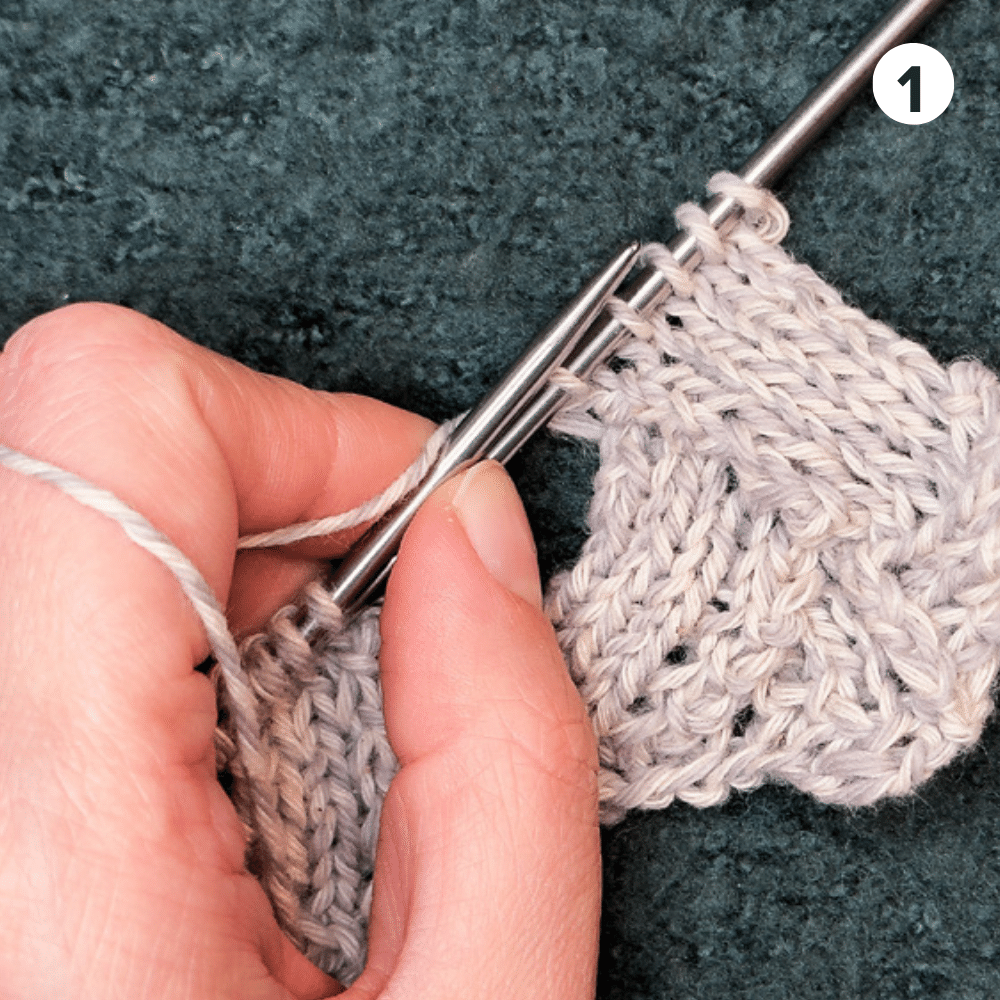
Repeat this pattern to cast off/bind off stitches till you have no stitches left. Cut the yarn. Secure and weave the loose yarn.
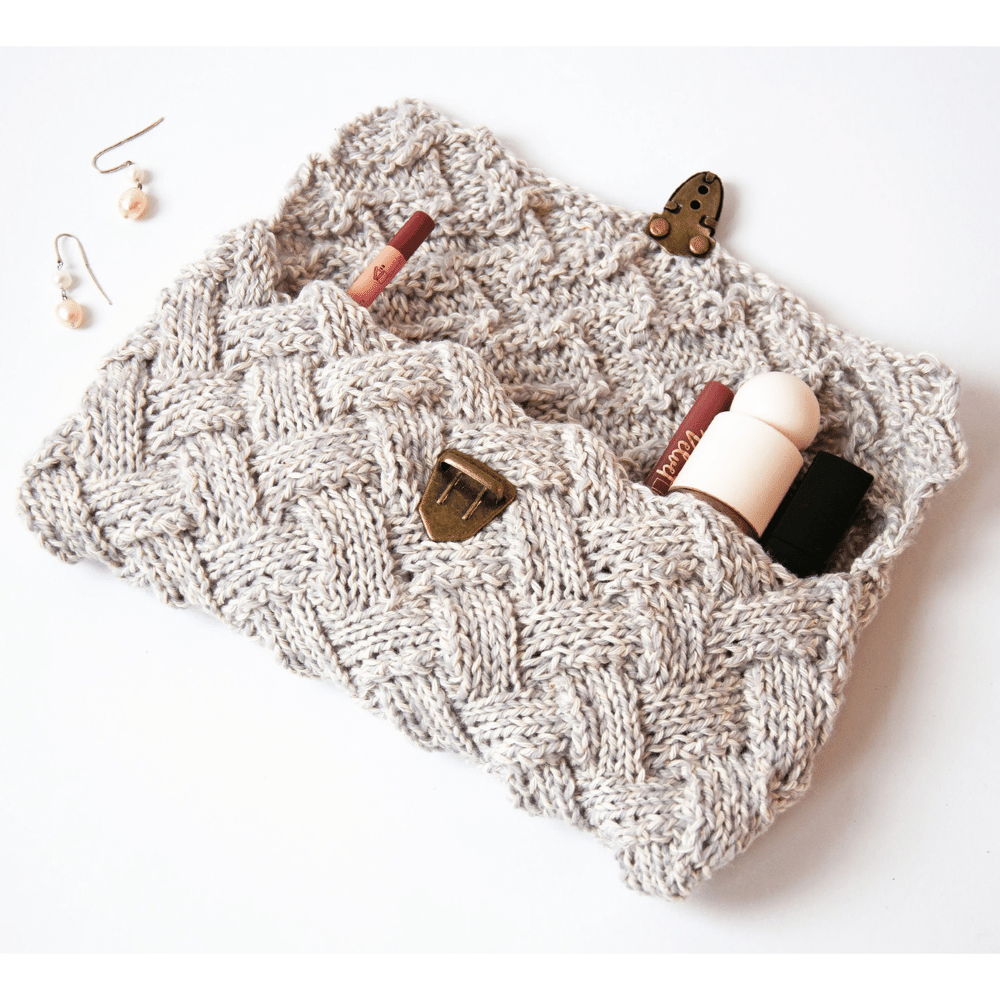
Place the clutch front side up and fold the clutch as shown in the photo below. Sew the edges on both sides.

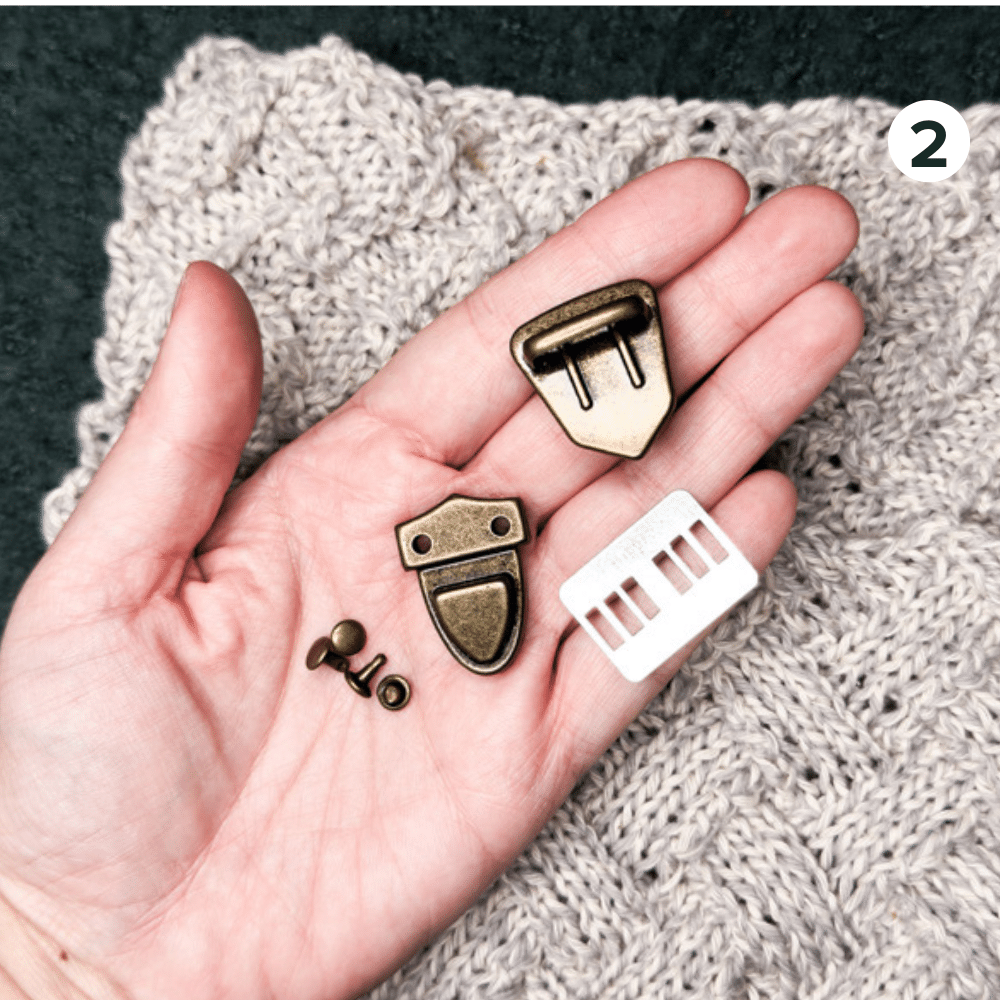
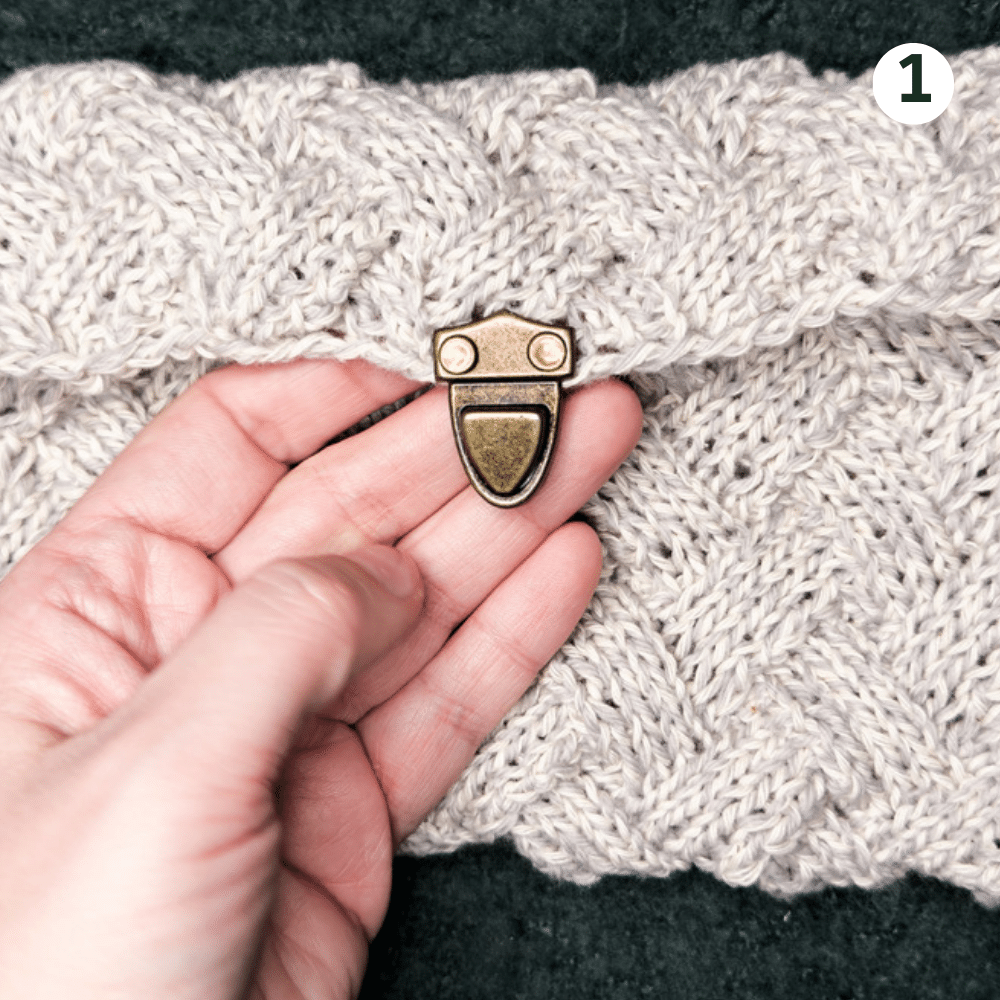
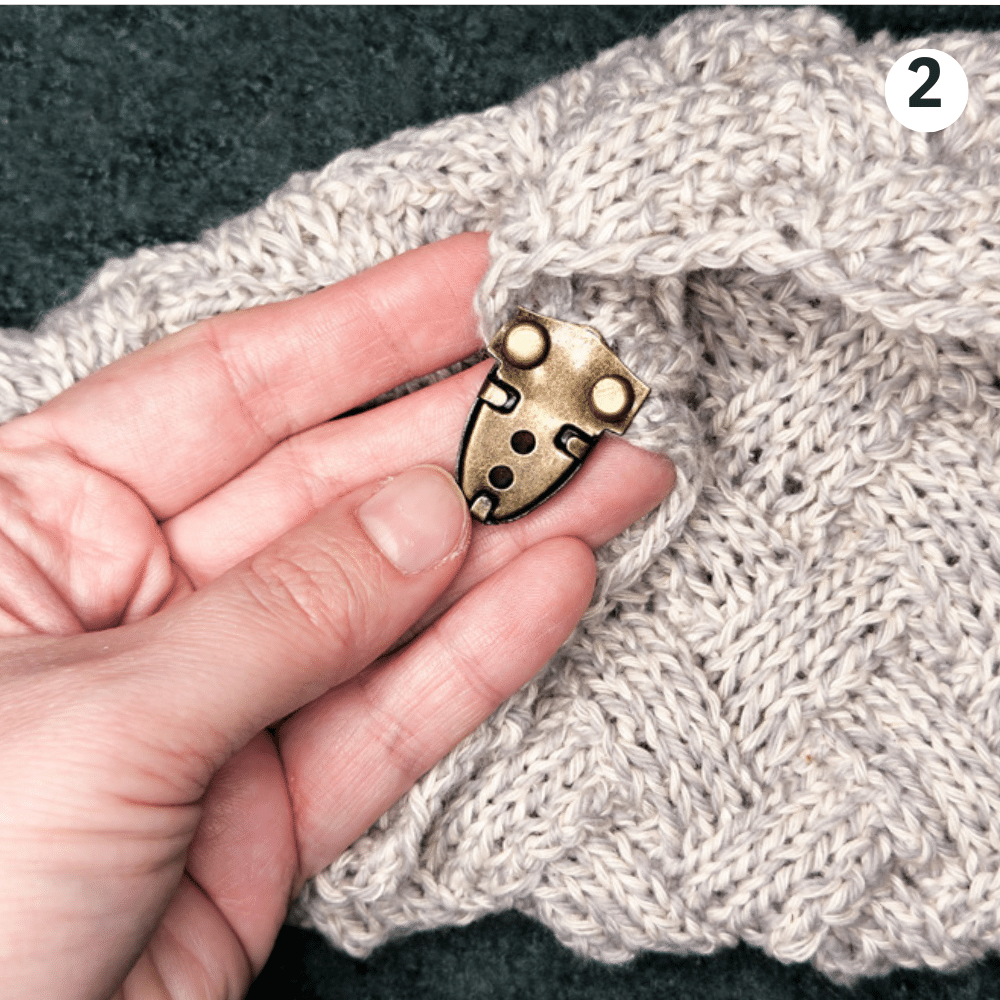
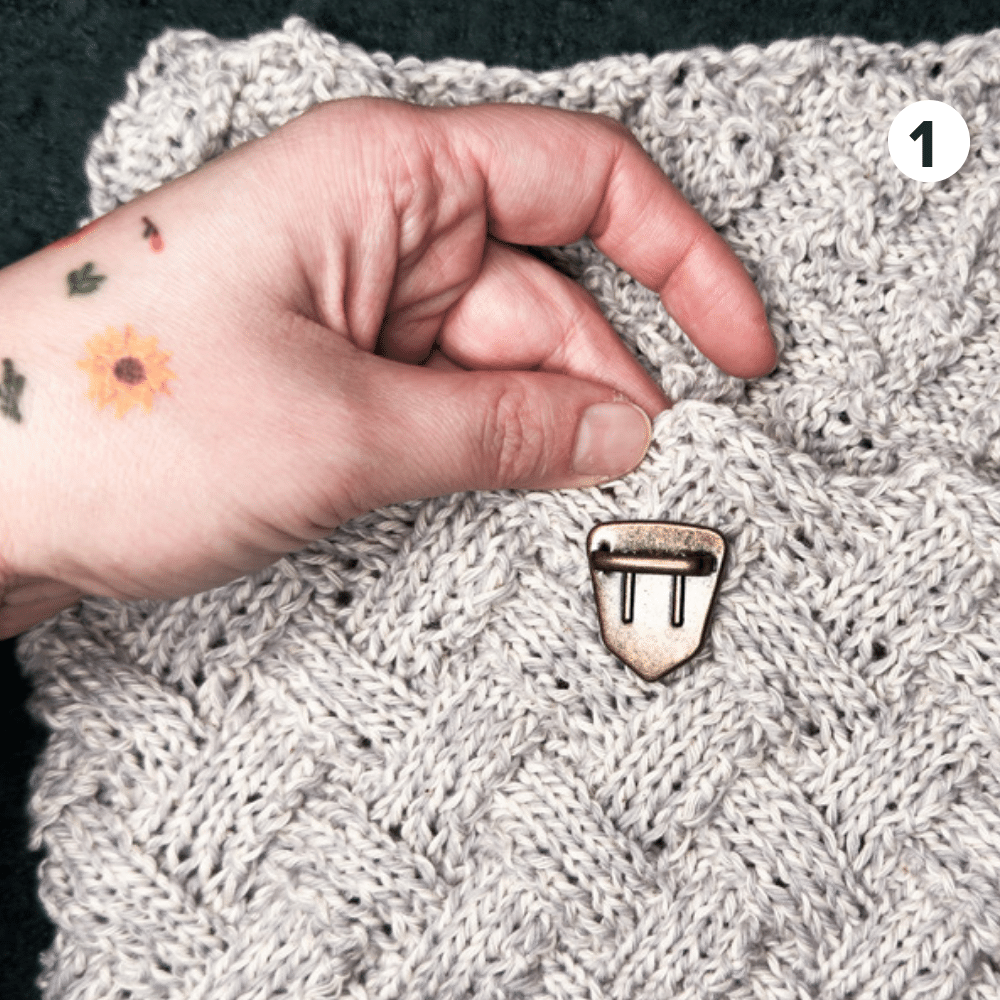
Take the metallic locker and its parts and start assembling the lock. Turn the project inside out so that the wrong side is inside and you are facing the front side of your project.
Place the lock in the middle of the project and secure it as shown in the photo below.

Insert the edge of the project into the opening of the metallic locker, take small bolts, and insert them in the holes from both sides. You might need a hammer or something firm to hit the bolts and secure them.